First, I have to confess that we initially went to make Christmas ornaments for the tree. When we got there, the gentleman led us to a display of choices and colors. We were to pick our glass piece and then choose two colors and how we'd like them made (with a swirl design or with dots). They had vases, bowls, ornaments, globes, pumpkins, apples, Easter eggs...the list was endless. Of course none of us chose to do Christmas ornaments. That will be for another trip.
When blowing glass, the handler must heat a regular chunk of glass and then cool the rod.

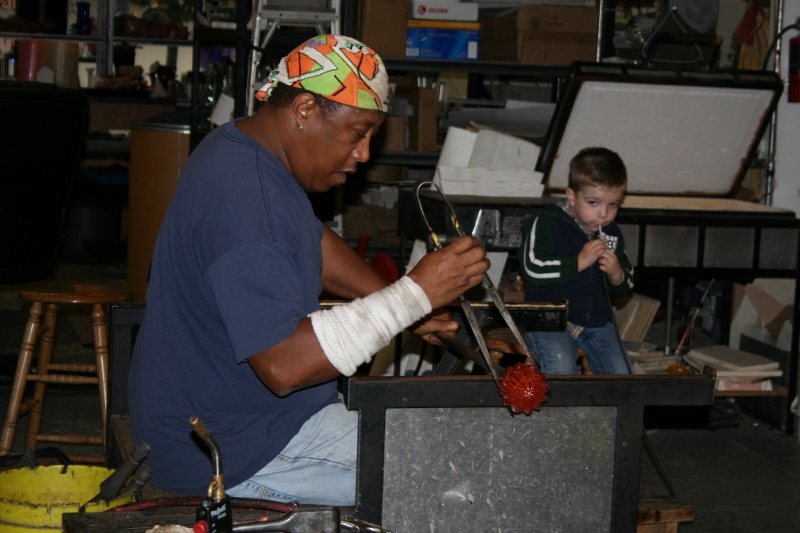
The next step is to ensure that your customer can blow on the tube to enlarge the sculpture. As you can see, my bulging cheek son has no problems blowing hot air.

Next, the handler rolls the regular glass into the colored glass pieces of your choice. To get the swirl design, they alternate sides on the chunk (blue, pink, blue, pink). To get a dot pattern, like my sons, they swirl the regular glass into one color and then dab the other color randomly around.

After that, the glass is heated in a big cement mixer like container. When near it, it is super hot. I imagine that this is probably one of Hades hobbies. I may need to write Rick Riordan and suggest it for his next Percy Jackson book.

Next, you are asked to blow into the tubing to help begin molding your masterpiece. J had so much fun blowing into the tube and watching the glass expand. He was concentrating hard on his job but had to sneak a peak at his handy work.
After some more heating and manipulating, the pumpkin glass is formed. Now it's time to sit back and watch how the stem is made. What a fascinating thing to watch.


Lastly, you admire your art and give the professionals a high-five!


I would have thought that this was the end of the process, but it wasn't. We had to leave the glass to cool in an oven for almost a week. It's very important that the glass cools down slowly so it doesn't break. We just picked up our finished products this weekend and I couldn't wait to share them with you all. Take a peak at the artists in my family.
 |
| My boys, mom, and niece. Aren't they special? I'm a lucky girl. |
Maybe you can find a glass blowing near you and give it a try. We sure had fun and will be making a trip again soon. Hmm, I wonder if they can make turkeys?
You are luck Elizabeth and so are we as you take us on your glass blowing journey,
ReplyDeletethanks,
Bonnie
That is so cool! I never knew there was a glass blowing place where you could do it yourself. Great descriptions and pictures! A nice melding of the two.
ReplyDeleteVery cool Elizabeth. I'm intrigued by the how-to format of your slice. I'm imagining all kinds of possibilities for how this could play out in classrooms. Thanks for sharing. As always you are an inspiration.
ReplyDeleteRuth
How wonderful to be able to do this! I love that you showed us step by step how it worked. I too didn't know that there are places to go and get to do. I'll have to check it out. Great to see all the photos.
ReplyDeleteI wanna do that! (my whiny voice)
ReplyDeleteWhat a great experience! I loved the picture documentation. Make sure you print some up to keep with the glass for when they grow up. It is such a nice memory. Is it expensive? I'll have to check around here and see if there is one nearby-ish. Nothing is "nearby" in Maine.
I have always found the glass blowing kind of mind blowing too. it is just amazing. You were lucky to be able to do it yourself. Your slice would make a great mentor text for "How to..." I think it is funny how you inserted suggestion for Rick Riordan into your text.
ReplyDeleteTerje
What beautiful pieces you created!
ReplyDeleteI blew glass a couple of times when I was 15. Nothing of mine ever turned out as great as yours.
Thanks for all of the incredible photos that took us through the process.
SAS
Congratulations you are a Versatile Blogger!
ReplyDelete